If you want to launch an apparel brand, a direct to transfer printer can help you get started fast. You can print bold, colorful designs on shirts and hoodies with ease. You skip messy setups, enjoy quick results, and bring your creative ideas to life without big investments.
Key Takeaways
- Direct to transfer printing lets you create bright, colorful designs on many fabrics with low startup costs and easy setup.
- Choose the right printer and materials, keep your workspace organized, and test your prints to get the best results.
- Avoid common mistakes by using high-quality designs, applying even heat and pressure, and following each step carefully.
Understanding Direct to Transfer Printer Technology
How DTF Printing Works
You might wonder how a direct to transfer printer actually works. The process is simple and fun to learn. First, you create your design on a computer. You can use any design software you like. Once you finish your artwork, you send it to the direct to transfer printer.
The printer uses special inks to print your design onto a clear PET film. This film acts like a carrier for your image. After printing, you sprinkle a fine adhesive powder over the wet ink. The powder sticks only to the printed areas. Next, you shake off the extra powder and heat the film. This step melts the powder and bonds it to the ink.
Now, your transfer is ready! You place the film on your shirt or hoodie. Use a heat press to apply pressure and heat. The design transfers from the film to the fabric. When you peel away the film, your artwork stays on the garment. It looks bright and feels soft.
Tip: Always make sure the film is flat and clean before printing. This helps you get the best results every time.
Core Benefits for Apparel Startups
A direct to transfer printer gives you many advantages when starting your apparel business. Here are some reasons why you might choose this technology:
- Low Startup Costs: You do not need expensive screens or plates. You can start with a small budget.
- Easy to Use: You can learn the process quickly. You do not need years of experience.
- Print on Demand: You can print one shirt or one hundred. There is no need to keep lots of stock.
- Vivid Colors: Your designs will look bright and sharp. The printer handles full-color images with ease.
- Works on Many Fabrics: You can use cotton, polyester, blends, and more. This gives you lots of options for your brand.
| Feature | Benefit for Startups |
|---|---|
| No screens needed | Lower costs, less mess |
| Fast setup | Quick order turnaround |
| Small batch friendly | Less waste, more flexibility |
| Versatile materials | More product choices |
You can see why so many new brands pick a direct to transfer printer. It helps you move fast, try new ideas, and keep your customers happy.
Essential Equipment and Materials for DTF Printing
Choosing the Right Direct to Transfer Printer
You want to pick a direct to transfer printer that matches your business goals. Some printers work best for small batches, while others handle bigger jobs. Look for a printer that fits your space and budget. Check the print speed and the maximum print size. Some models come with extra features, like automatic cleaning or white ink support. These features can save you time and help you get better results.
Tip: Ask other apparel business owners about their favorite printers. Real feedback can help you make a smart choice.
PET Film, Inks, and Adhesive Powders
You need special materials for DTF printing. PET film acts as the base for your designs. Make sure you buy film made for your printer model. DTF inks are bright and flexible. They stick well to many fabrics. You also need adhesive powder. This powder helps your design stick to the shirt or hoodie during the heat press step.
Here’s a quick checklist:
- PET film (right size for your printer)
- DTF inks (CMYK and white)
- Adhesive powder (fine and even)
Heat Press and Design Software
A heat press is a must-have tool. It uses heat and pressure to transfer your design from the film to the fabric. Choose a press that fits your workspace and the types of garments you want to print. You also need design software. Programs like Adobe Illustrator or free tools like Canva let you create eye-catching artwork.
Note: Test your heat press settings on a sample shirt first. This helps you avoid mistakes and wasted materials.
Step-by-Step DTF Printing Process

Designing Your Artwork
Start with your creative ideas. Open your favorite design software. You can use Adobe Illustrator, Photoshop, or even Canva. Make sure your design fits the size of your garment. Use bold colors and clear lines for the best results. Save your artwork as a high-resolution PNG file with a transparent background. This helps your printer read the image correctly.
Tip: Keep your designs simple at first. Simple shapes and bright colors look great on shirts and hoodies.
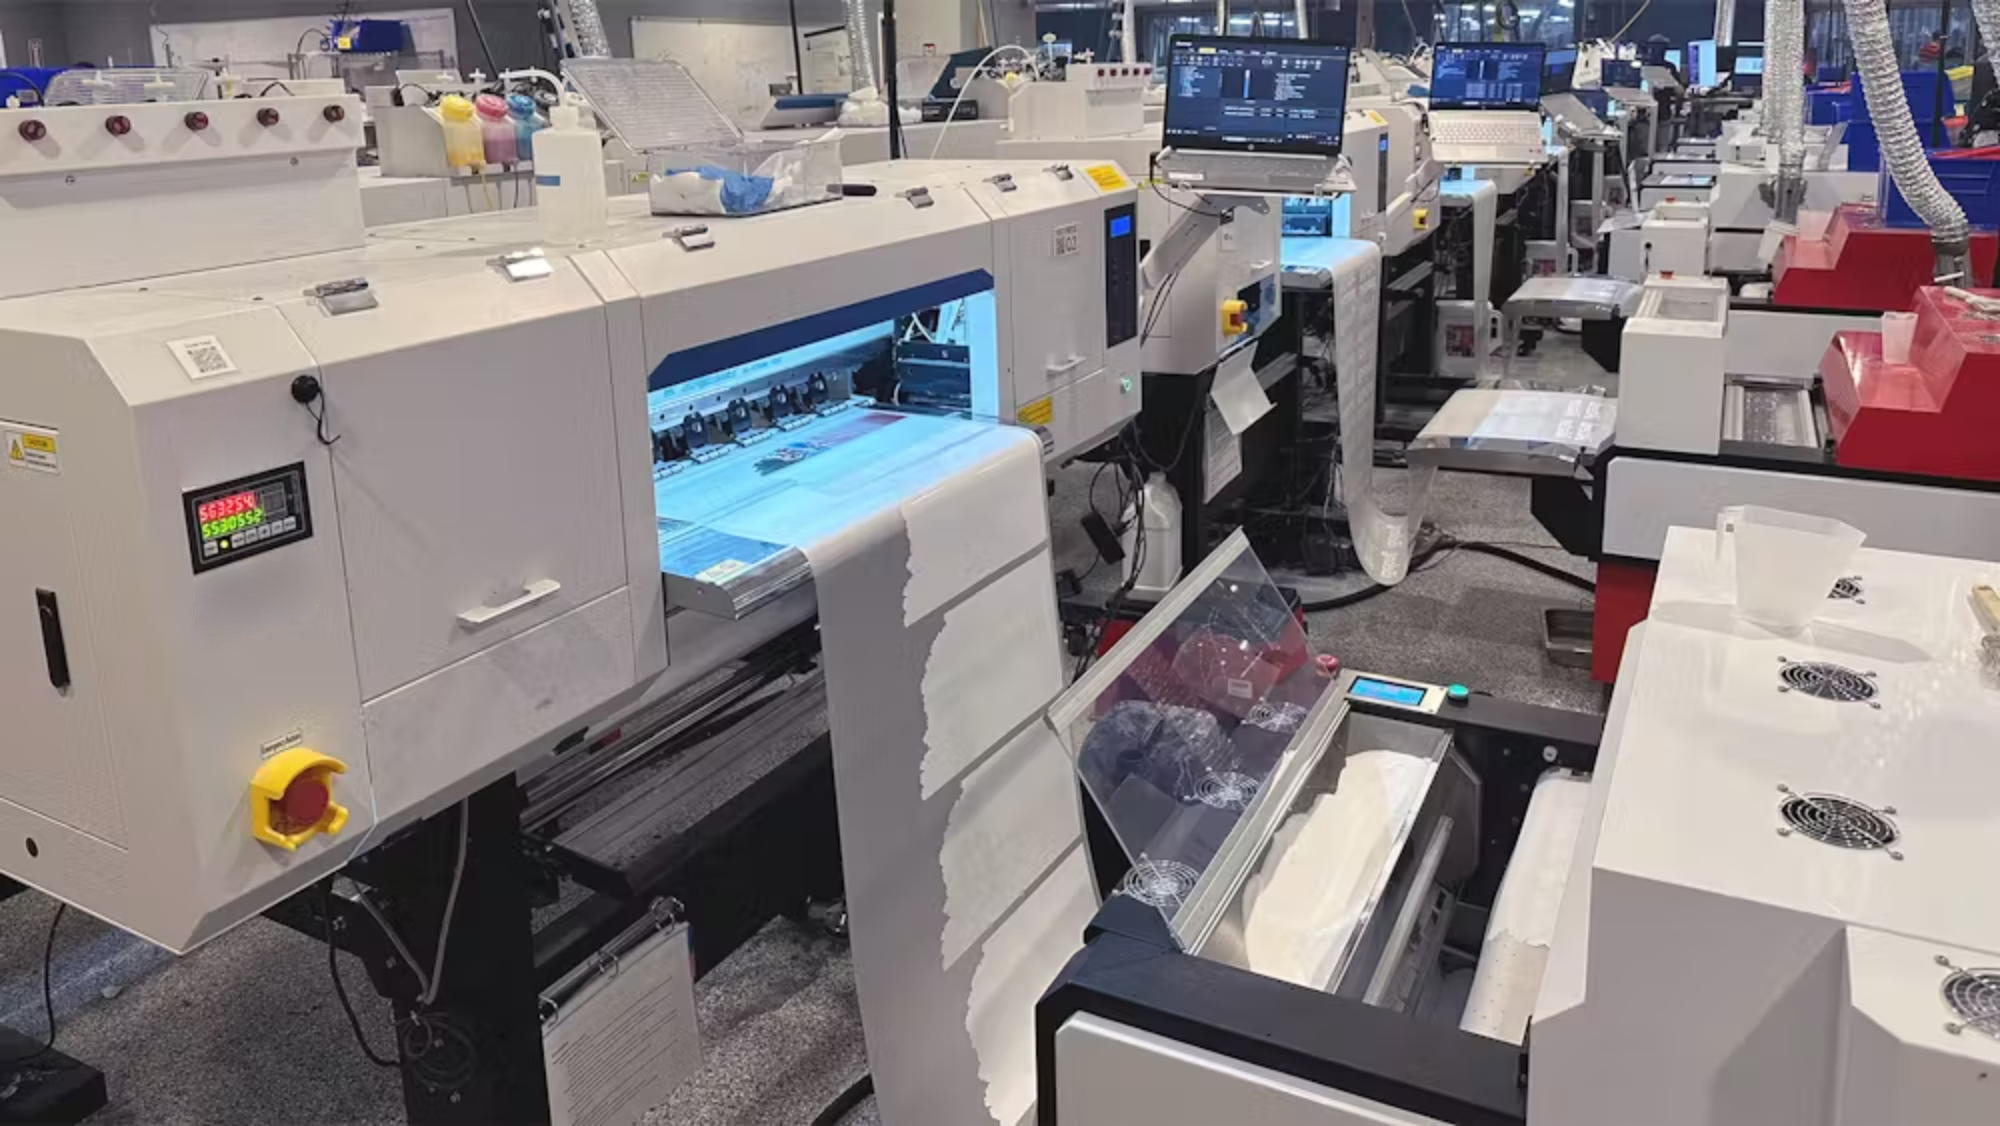
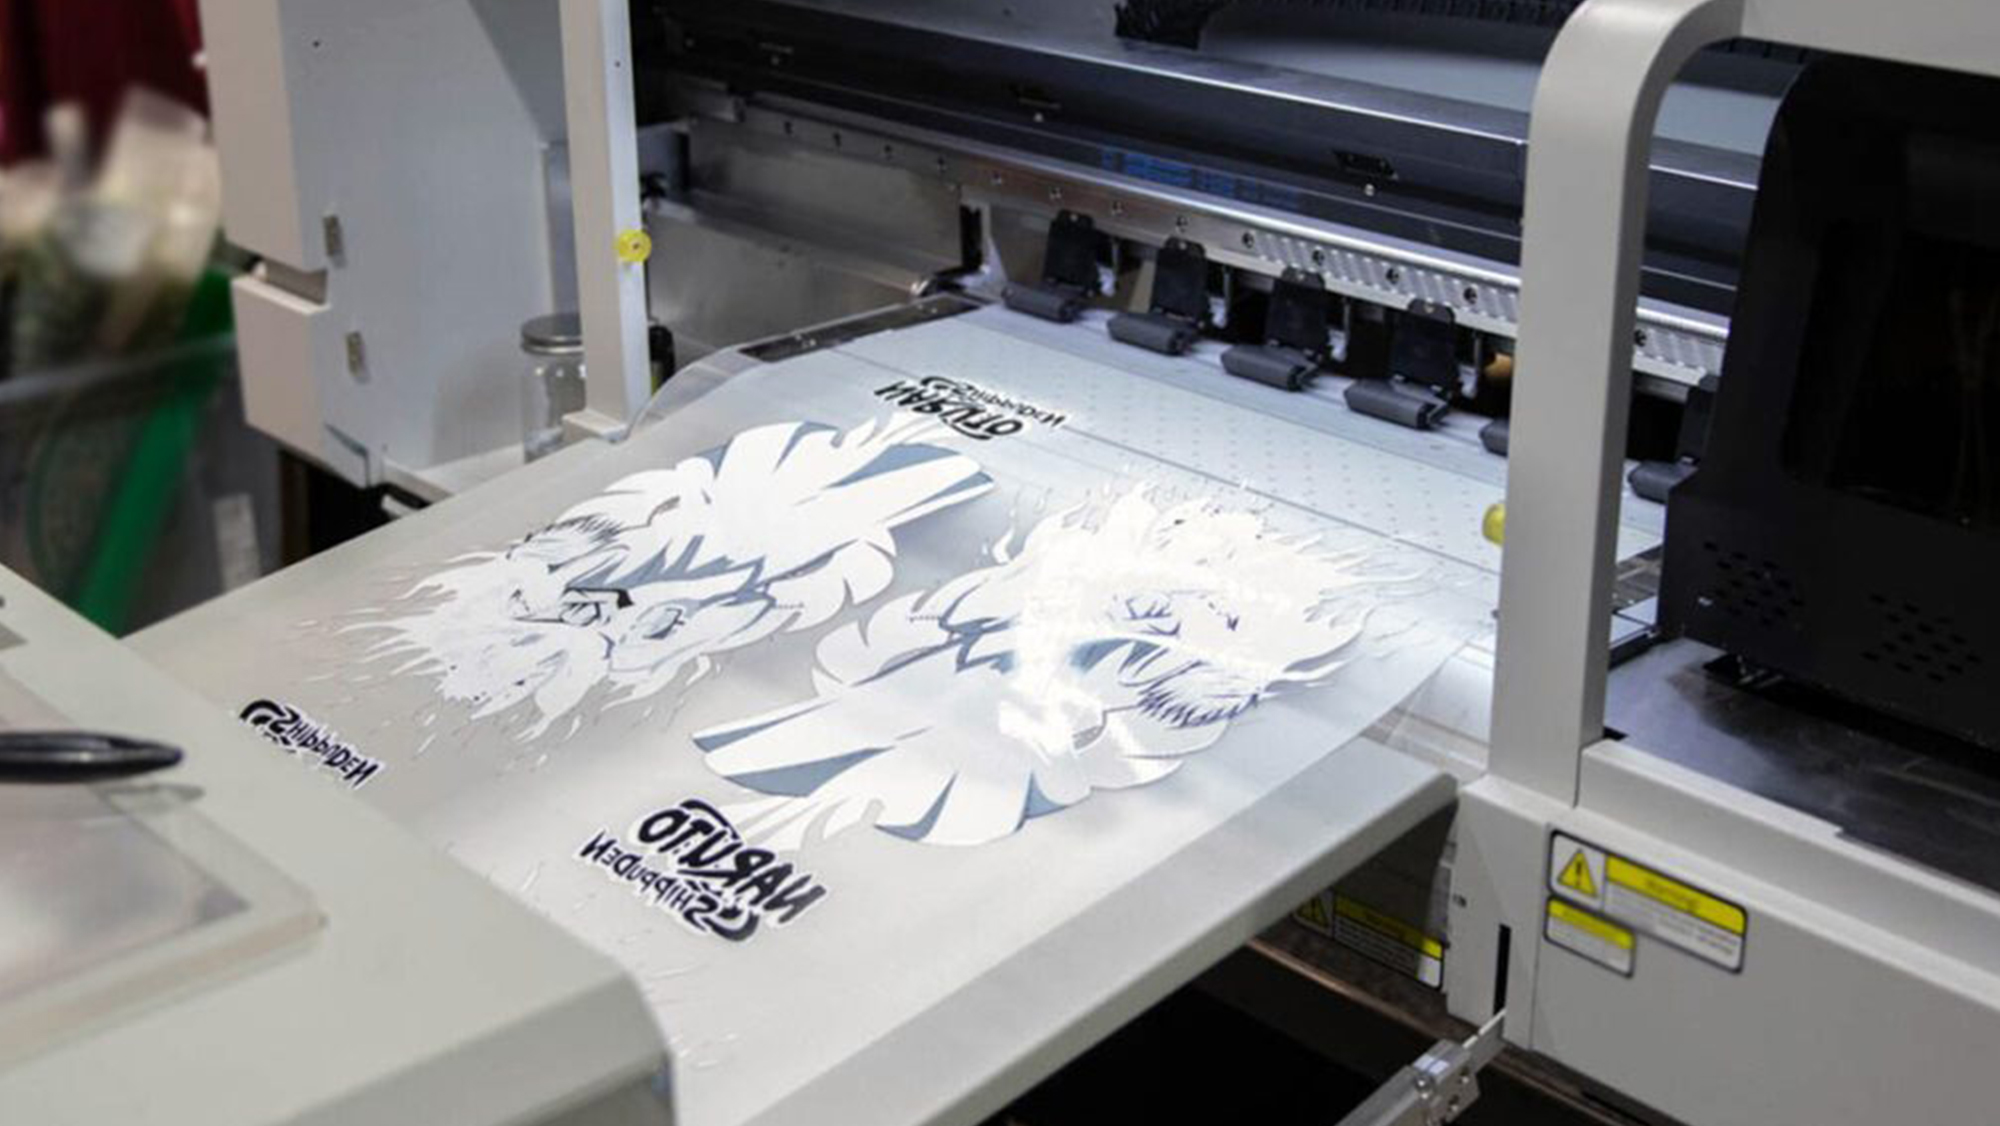
Printing and Preparing the Transfer
Now, load the PET film into your DTF printer. Double-check that the film sits flat and clean. Open your saved design and send it to the printer. The printer lays down the colored inks first, then adds a layer of white ink. This white layer makes your design pop on dark fabrics.
After printing, sprinkle adhesive powder over the wet ink. Make sure the powder covers all printed areas. Shake off the extra powder. Place the film in a heat press or oven for a few seconds. The heat melts the powder and bonds it to the ink.
Applying Transfers to Apparel
Place your shirt or hoodie on the heat press. Lay the printed film on top, design facing down. Set the press to the right temperature and time. Press down firmly. When the timer ends, let the shirt cool for a few seconds. Peel away the film slowly. Your design should stick to the fabric and look bright.
Note: Always test on a sample shirt before making a big batch. This helps you avoid surprises and get perfect results.
Setup and Operational Tips for StartupsOrganizing Your Workspace
You want your DTF printing area to feel clean and easy to use. Start by picking a spot with good light and enough space for your printer, heat press, and supplies. Keep your PET film, inks, and powders close by, but store them in a dry place. Use shelves or bins to keep things tidy. Label your containers so you can grab what you need fast.
Set up a table just for your design work. Place your computer and design tools there. Keep your heat press on a sturdy surface. Make sure you have room to move shirts and films without bumping into things.
Tip: Clean your workspace at the end of each day. This helps you avoid dust and keeps your prints looking sharp.
Maintenance and Troubleshooting
Your printer works best when you take care of it. Check the ink levels before you start printing. Wipe the print head with a soft cloth if you see streaks or missing colors. Run the printer’s cleaning cycle once a week. This keeps the nozzles clear.
If your prints look faded, check the ink and powder. Make sure you use the right heat press settings. If the design peels off, try pressing again with more pressure or heat.
- Always keep extra PET film and powder on hand.
- Write down any problems and how you fixed them. This helps you learn and improve.
Note: If you get stuck, ask for help in online forums or watch tutorial videos. Many people share tips that can save you time and money.
Common Mistakes and How to Avoid ThemDesign and Printing Pitfalls
You might feel excited to start printing, but small mistakes in your design or printing steps can cause big problems. Here are some common issues and how you can dodge them:
- Low-Resolution Images: Blurry prints often come from low-quality images. Always use high-resolution files for sharp results.
- Wrong Color Settings: If your colors look dull, check your design software. Use the right color mode (usually RGB or CMYK) for your printer.
- Overcrowded Designs: Too many details can make your print look messy. Simple, bold designs work best for DTF.
- Ignoring Print Size: Make sure your artwork fits the garment. Double-check the size before you print.
Tip: Print a small test sample before you start a big batch. This helps you spot problems early.
Transfer and Application Errors
Even if your design looks great, you can run into trouble during the transfer step. Watch out for these mistakes:
- Uneven Heat or Pressure: If your heat press does not cover the whole design evenly, parts of your print may peel off.
- Peeling Film Too Soon: Wait for the shirt to cool before peeling the film. Rushing this step can ruin your print.
- Not Enough Adhesive Powder: Skipping spots with powder means your design will not stick well.
| Mistake | How to Avoid It |
|---|---|
| Uneven transfer | Use even pressure, right temp |
| Early peeling | Let garment cool first |
| Missing powder spots | Cover all ink areas |
Note: Keep a checklist for each print job. This helps you remember every step and avoid costly errors.
Cost Breakdown and Budgeting for DTF PrintingInitial Investment and Startup Costs
Starting with DTF printing does not have to break the bank, but you should know what to expect. Here are the main things you need to buy:
- DTF Printer: This is your biggest cost. Entry-level models start around $2,000. Some advanced printers can cost $5,000 or more.
- Heat Press: A good heat press costs between $200 and $600.
- Design Software: You can use free tools like Canva, but many people choose paid programs like Adobe Illustrator, which costs about $20 per month.
- Starter Supplies: You need PET film, DTF inks, and adhesive powder. A starter pack usually costs $100 to $300.
| Item | Estimated Cost |
|---|---|
| DTF Printer | $2,000 – $5,000 |
| Heat Press | $200 – $600 |
| Design Software | $0 – $20/month |
| Starter Supplies | $100 – $300 |
Tip: You can find bundle deals that include a printer, heat press, and starter supplies. These can save you money when you first start out.
Ongoing Expenses and Saving Tips
Once you set up your DTF business, you will have regular costs. These include:
- Inks and Powders: You will need to restock these often. Expect to spend $50 to $100 each month, depending on how much you print.
- PET Film: This is a must for every print. A roll costs about $30 to $50.
- Garments: Blank shirts and hoodies are your main products. Prices vary, but buying in bulk saves money.
To save money:
- Buy supplies in bulk for discounts.
- Keep your printer clean to avoid costly repairs.
- Test designs on scrap fabric before using new shirts.
Note: Track your spending each month. This helps you spot ways to save and keeps your business on budget.
Marketing and Growing Your Apparel Business with DTFBuilding a Brand with DTF Products
You want your brand to stand out. DTF printing lets you create unique designs that show your style. Try bold graphics, fun slogans, or custom artwork. Use your logo on every shirt or hoodie. This helps people remember your brand.
Think about your brand colors and fonts. Keep them the same on all your products. Consistency builds trust. You can also add special touches, like custom tags or packaging. These small details make your brand feel professional.
Tip: Ask your customers what designs they like. Their feedback can help you create products that sell.
Reaching and Expanding Your Audience
You need people to see your products. Start by sharing photos on social media. Platforms like Instagram, TikTok, and Facebook work well for apparel. Post behind-the-scenes videos of your printing process. Show off new designs and happy customers.
You can also join local markets or pop-up events. Meeting people face-to-face helps you build real connections. Offer discounts or giveaways to attract new followers.
| Platform | Best Use |
|---|---|
| Share photos, stories | |
| TikTok | Post short videos |
| Build a community |
Scaling Up Production
Your business may grow fast. You need to keep up with more orders. Organize your workspace so you can print and press shirts quickly. Track your best-selling designs and keep extra supplies ready.
If you get lots of orders, think about hiring help. You can also upgrade to a bigger printer or add more heat presses.
Note: Stay organized. Use a calendar or app to track orders and deadlines. This helps you deliver on time and keep customers happy.
You can launch your DTF apparel business with these steps:
- Pick your printer and supplies
- Set up your workspace
- Practice your first prints
- Share your designs online
Ready to start? Take that first step today. Your creative journey begins with one print!
FAQHow long does a DTF print last on a shirt?
You can expect your DTF prints to last through many washes. If you follow care instructions, your design stays bright and flexible for a long time.
Can I use any shirt for DTF printing?
You can print on cotton, polyester, or blends. Just make sure the fabric is clean and smooth. This helps your design stick better.
Do I need special software to make designs?
You do not need fancy software. Free tools like Canva work well. You can also try Adobe Illustrator or Photoshop for more features.
Tip: Always save your design as a high-resolution PNG for best results.
Media Contact
Company Name: Ningbo Haishu Colorido Digital Technology Co., Ltd.
Email: Send Email
Phone: +86 13967852601
Country: China
Website: https://www.coloridoprinting.com/